Getting started with NixOS
I previously wrote Why do people love NixOS so much? to try and explain the advantages of using Nix. So now let’s dive in and actually do an install!
I’m going to be doing this in a VM for this article, but if you’re serious about giving this a spin, I always recommend to run it on bare metal if you can. NixOS is infinitely customizable, but I’m going to keep this to a pretty basic build using gnome and flatpak. But you’ll see how you can customize it to suit your own needs.
- Get NixOS

First, head over to https://nixos.org/ and click on Download. You’ll first see Nix the package manager and below that you’ll see NixOS the Linux Distro. That is what you want. I’ll be using the Gnome Graphical ISO image. Download the image and flash it to a USB drive using your favorite method.

2. Run the installer

Once you have the ISO flashed to a USB drive, figure out which magic keys allow you to boot into your drive and carry on like any other distro you’ve installed. You’ll see all your options for safe mode, etc. You should be greeted with the screen above.
If you’re not connected to the internet, you’ll have to do that, and sometimes then have to close the installer and open it back up. (It’s right in the dock to reopen it).

From here, it should really look familiar to many other installs you’ve done. Give it your username, password, etc..
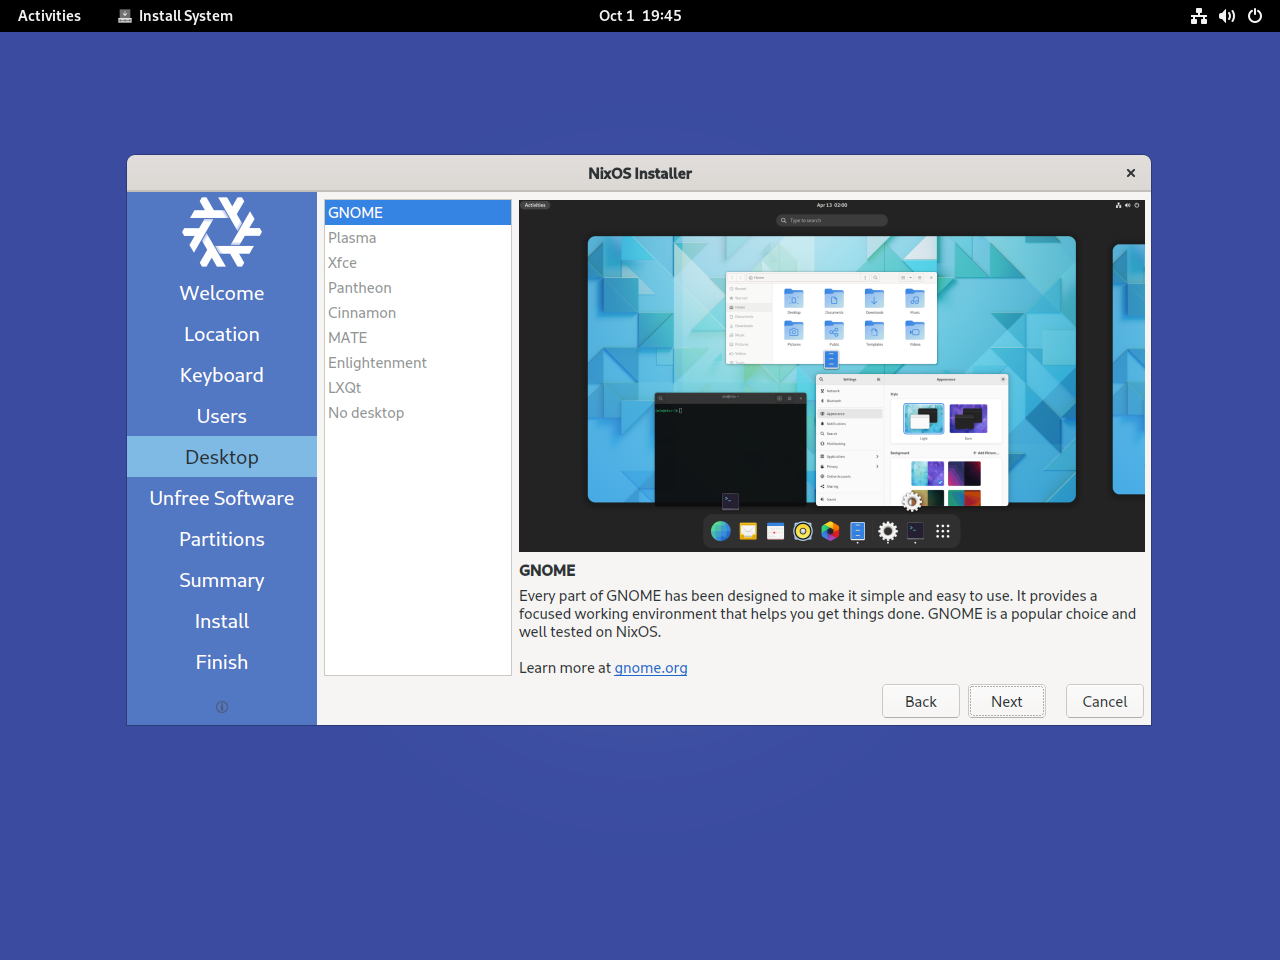
But here is where things get fun. You get to choose what desktop environment you want. All of these will give you a really vanilla experience and other than a wallpaper, nothing “Nix Specific” is installed. I used to be a big fan of Arch for building super minimal and vanilla desktop environments, and this is pretty on par with that. Nothing extra gets installed.
I’ll be using Gnome for this guide, but I’ve also played with Plasma, Cinnamon and even No desktop and made my own Sway build. It’s your choice from the start. And if you’re not sure, don’t sweat it, just pick one and you can change it later (seriously, you can).
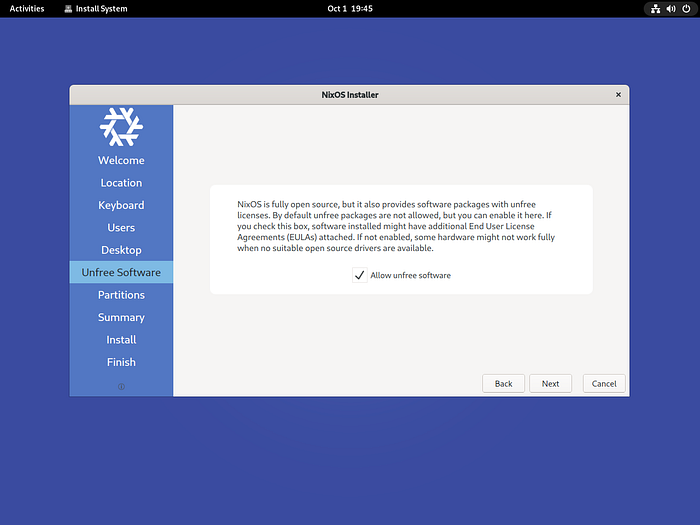
You’ll also get the “do you want to allow unfree software” which I always check, but if you’re hardcore and know what you’re doing, you leave it unchecked.
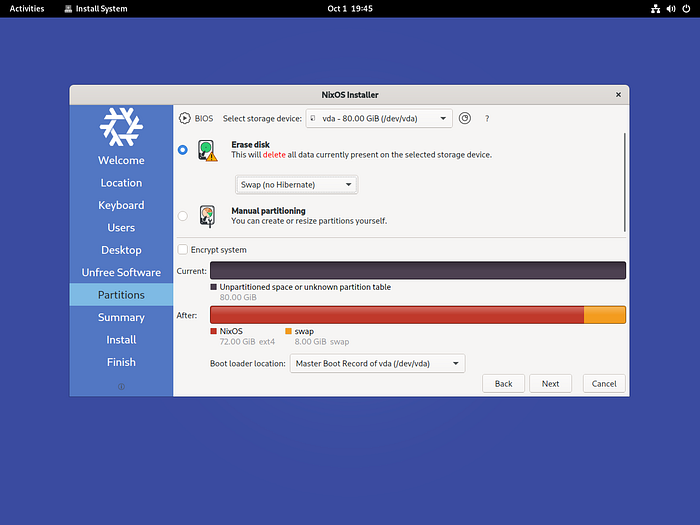
Do whatever you need to with partitioning. I always just use the whole disk, and enable swap (no hibernate), and it all sorts itself out just fine. But if you want something special, you should be able to do it. Again, if there is something you want to do that it doesn’t support. There is more than a good chance you can change it later.
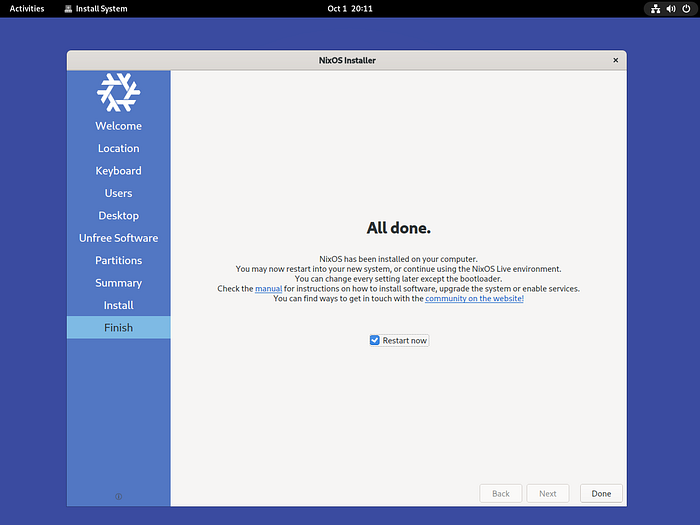
Then you’re off to the races! The install takes a bit because it’s downloading and building the system right at that moment, so you’re getting the freshest stable packages. And then you’ll see this screen and you’re done! Congrats, you just installed Nix. Now let’s reboot into this thing and start REALLY having fun.
3. First Boot

When you first boot up, you’ll see one option in your boot menu (they’ll be more later), and when you log in, you’ll see a clean and minimal desktop. Other than the wallpaper, this is a very vanilla gnome experience with only a handful of apps pre-installed.
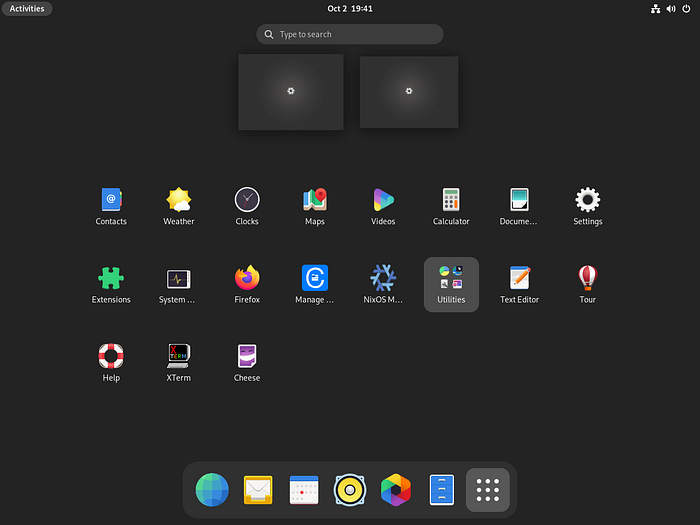
Great! But this system isn’t very useful right now, let’s install some stuff…
4. Install Some Stuff
Now we’re getting to the FUN stuff, and the part that gets people tripped up about Nix. But I promise you, it’s simple and easy once you try it on.
For most user space GUI apps, I find that Flatpak / Flathub work great with NixOS. I’ll show you how to set that up later. For now, let’s install some native apps!
Head over to https://search.nixos.org/packages and you can search for whatever you like. Let’s start with something simple like htop.

I want htop to be a permanent part of my system, so i’m going to add it to my config file. You will be visiting this file a lot during the setup phase. By default Nix has nano installed as a text editor so let’s use that. Open up a terminal and…
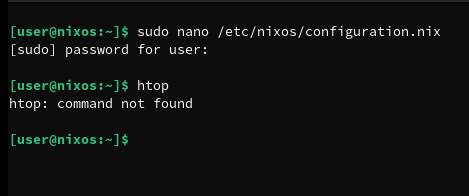
sudo nano /etc/nixos/configuration.nix
You’ll see lots of stuff in here already, as this is your main config file that describes your system, and what nix uses to rebuild your image and even update. We want to jump down to the environment.systemPackages, and simply add “htop”. Let’s also install neovim while we’re at it so we don’t have to use nano again :)
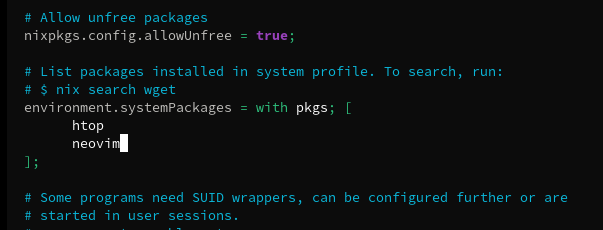
Hit Control+X to exit, then yes to save. You’ll see that right now, htop isn’t installed because it’s not in our immutable image yet. So let’s do that.
Simply type
sudo nixos-rebuild switch
“nixos-rebuild” is the command to build a new image based off the config file, and “switch” means switch to it right now (no reboot needed). You’ll see some stuff fly through the terminal, and now you’re back, type htop again.

Just like that you now have installed something in NixOS. That wasn’t so hard, now was it?
5. Install Some Stuff (temporarily)
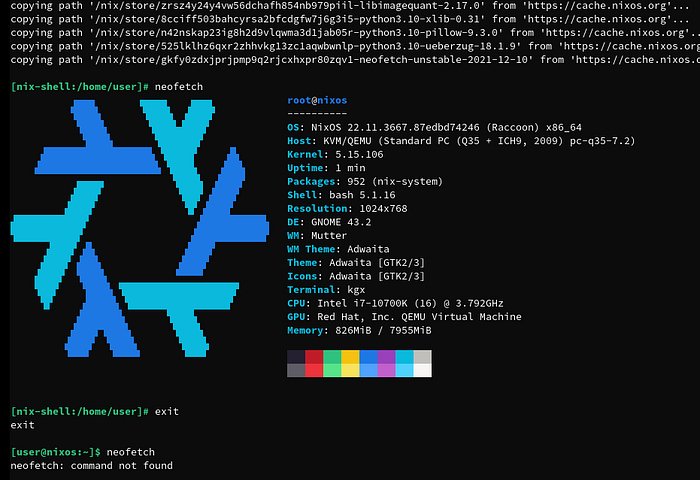
There is another fun trick NixOS has as well if you just temporarily need something, but it’s not worth putting it in your config. Let’s say you want to send your friend a neofetch shot with PROOF that you’re running nix, but you probably won’t need neofetch in the future. Type in…
sudo nix-shell -p neofetch

This command will drop you into a special temporary shell that has access to the packages you pass in. And when you exit that shell, there is no trace of it. Pretty handy!
6. Flatpak Time
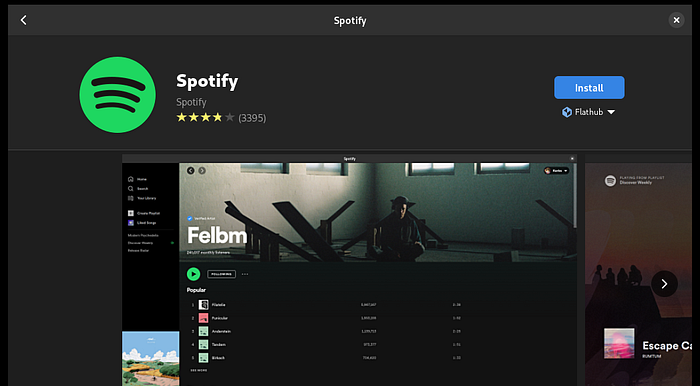
I like using nix packages for core applications that need system wide access. While Nix does have packages for things like Spotify, GitKraken, etc, I prefer to use flatpak for these. I won’t get into the advantages of Flatpak here, but it does pair nicely with Nix and the immutable model.
If you simply google “nixos flatpak”, the first link will be https://flatpak.org/setup/NixOS, which is truly all you need. But for ease, I’ll echo that here.

Edit your /etc/nixos/configuration.nix file again (this time using nvim if you want!). Near the bottom, you’ll see a section “List services that you want to enable”. Under there simply add.
services.flatpak.enable = true;
Save it, and once again run your rebuild switch:
sudo nixos-rebuild switch
Once that is done, just add flathub
flatpak remote-add — if-not-exists flathub https://flathub.org/repo/flathub.flatpakrepo
That’s it! Now you can use Gnome Software, or “flatpak install”
7. Updating
By now you should be cruising well with your system and getting everything installed! But what about updating your system?
NixOS doesn’t have any type of automatic update thing by default so you’ll have to do that yourself. There are ways to set up automatic updates and automatic garbage collection, but if you’re like me, you want to just run it when you’re ready!
I personally do an update and reboot every week to keep things fresh, and just run:
sudo nixos-rebuild boot — upgrade
Notice that I used “boot” instead of “switch”. This is because often there is a new kernel or updates to services, so I don’t want to hot swap them, but I’ll get them on the next boot.
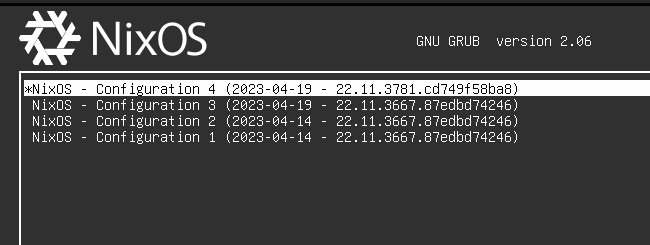
8. Garbage Collection
When you reboot, you’ll notice you have quite a few generations now. Everytime you do a nixos-rebuild, it saves it in your boot loader, and saves the versions of the packages from that time. This is AMAZING and let’s you easily jump back no matter how badly you screw things up. But there is a cost, and that is storage space.
So once you know you’re on a solid base, you can run:
sudo nix-collect-garbage -d
Which will keep your current version, but delete all the old ones. This keeps your storage from getting out of control. Depending how conservative you want to be, you can also just delete generations older than a certain time. For instance, to delete generations older than 30 days:
sudo nix-collect-garbage — delete-older-than 30d
To keep things simple for me, I simply have an “update.sh” in my home directory that contains these 3 commands
sudo nix-collect-garbage — delete-older-than 30d
sudo nixos-rebuild boot — upgrade
flatpak update -y
This way, once a week I just run ./update.sh, and garbage is taken out, packages and flatpak are updated. And IF something goes wrong, i’ve got 30 days of previous configs I can boot into :)
9. Just getting started…

This was just an intro into the world of NixOS and getting started. I’ll be adding more articles on how simple it is to switch entire desktop environments, and lots of other cool tricks. But hopefully this gives you a taste of NixOS and gets you thinking differently about how a distro can work!